

Vivian Howard offers “Hero” recipes in her cookbook This Will Make it Taste Good. These heroes are designed to be simple condiments that you can make at home to make meals extra flavorful.
R-Rated Onions
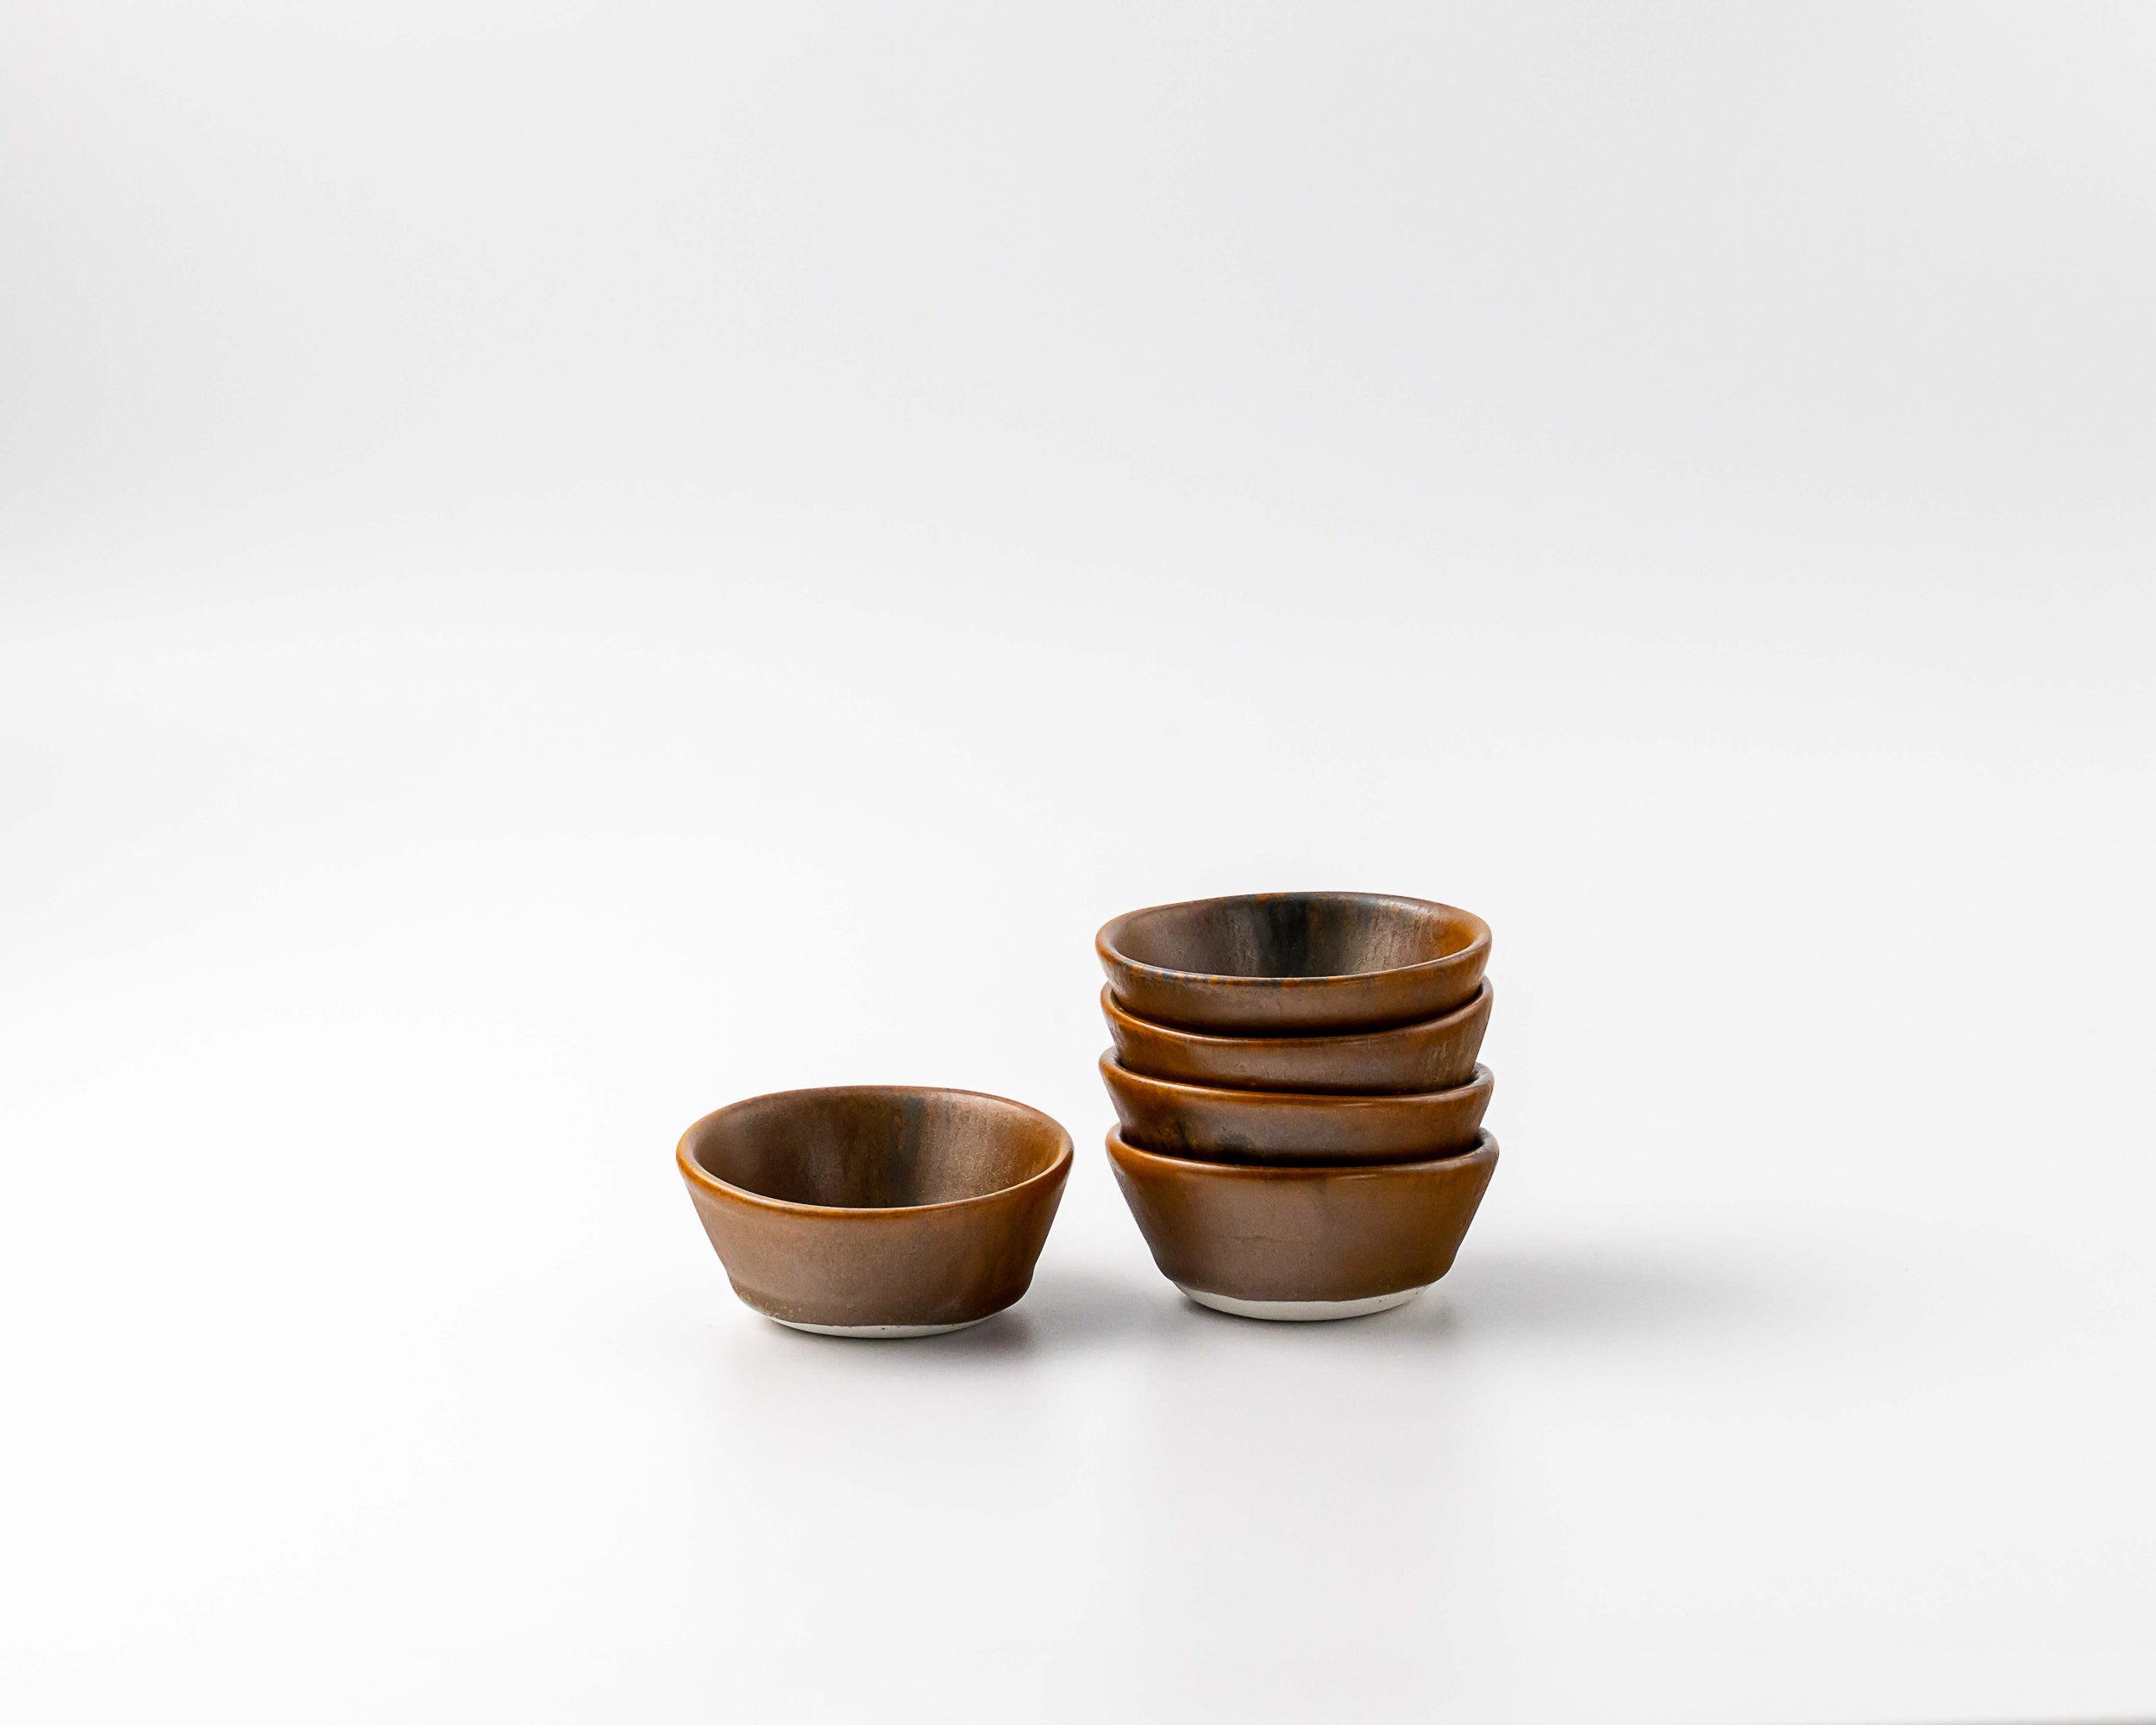
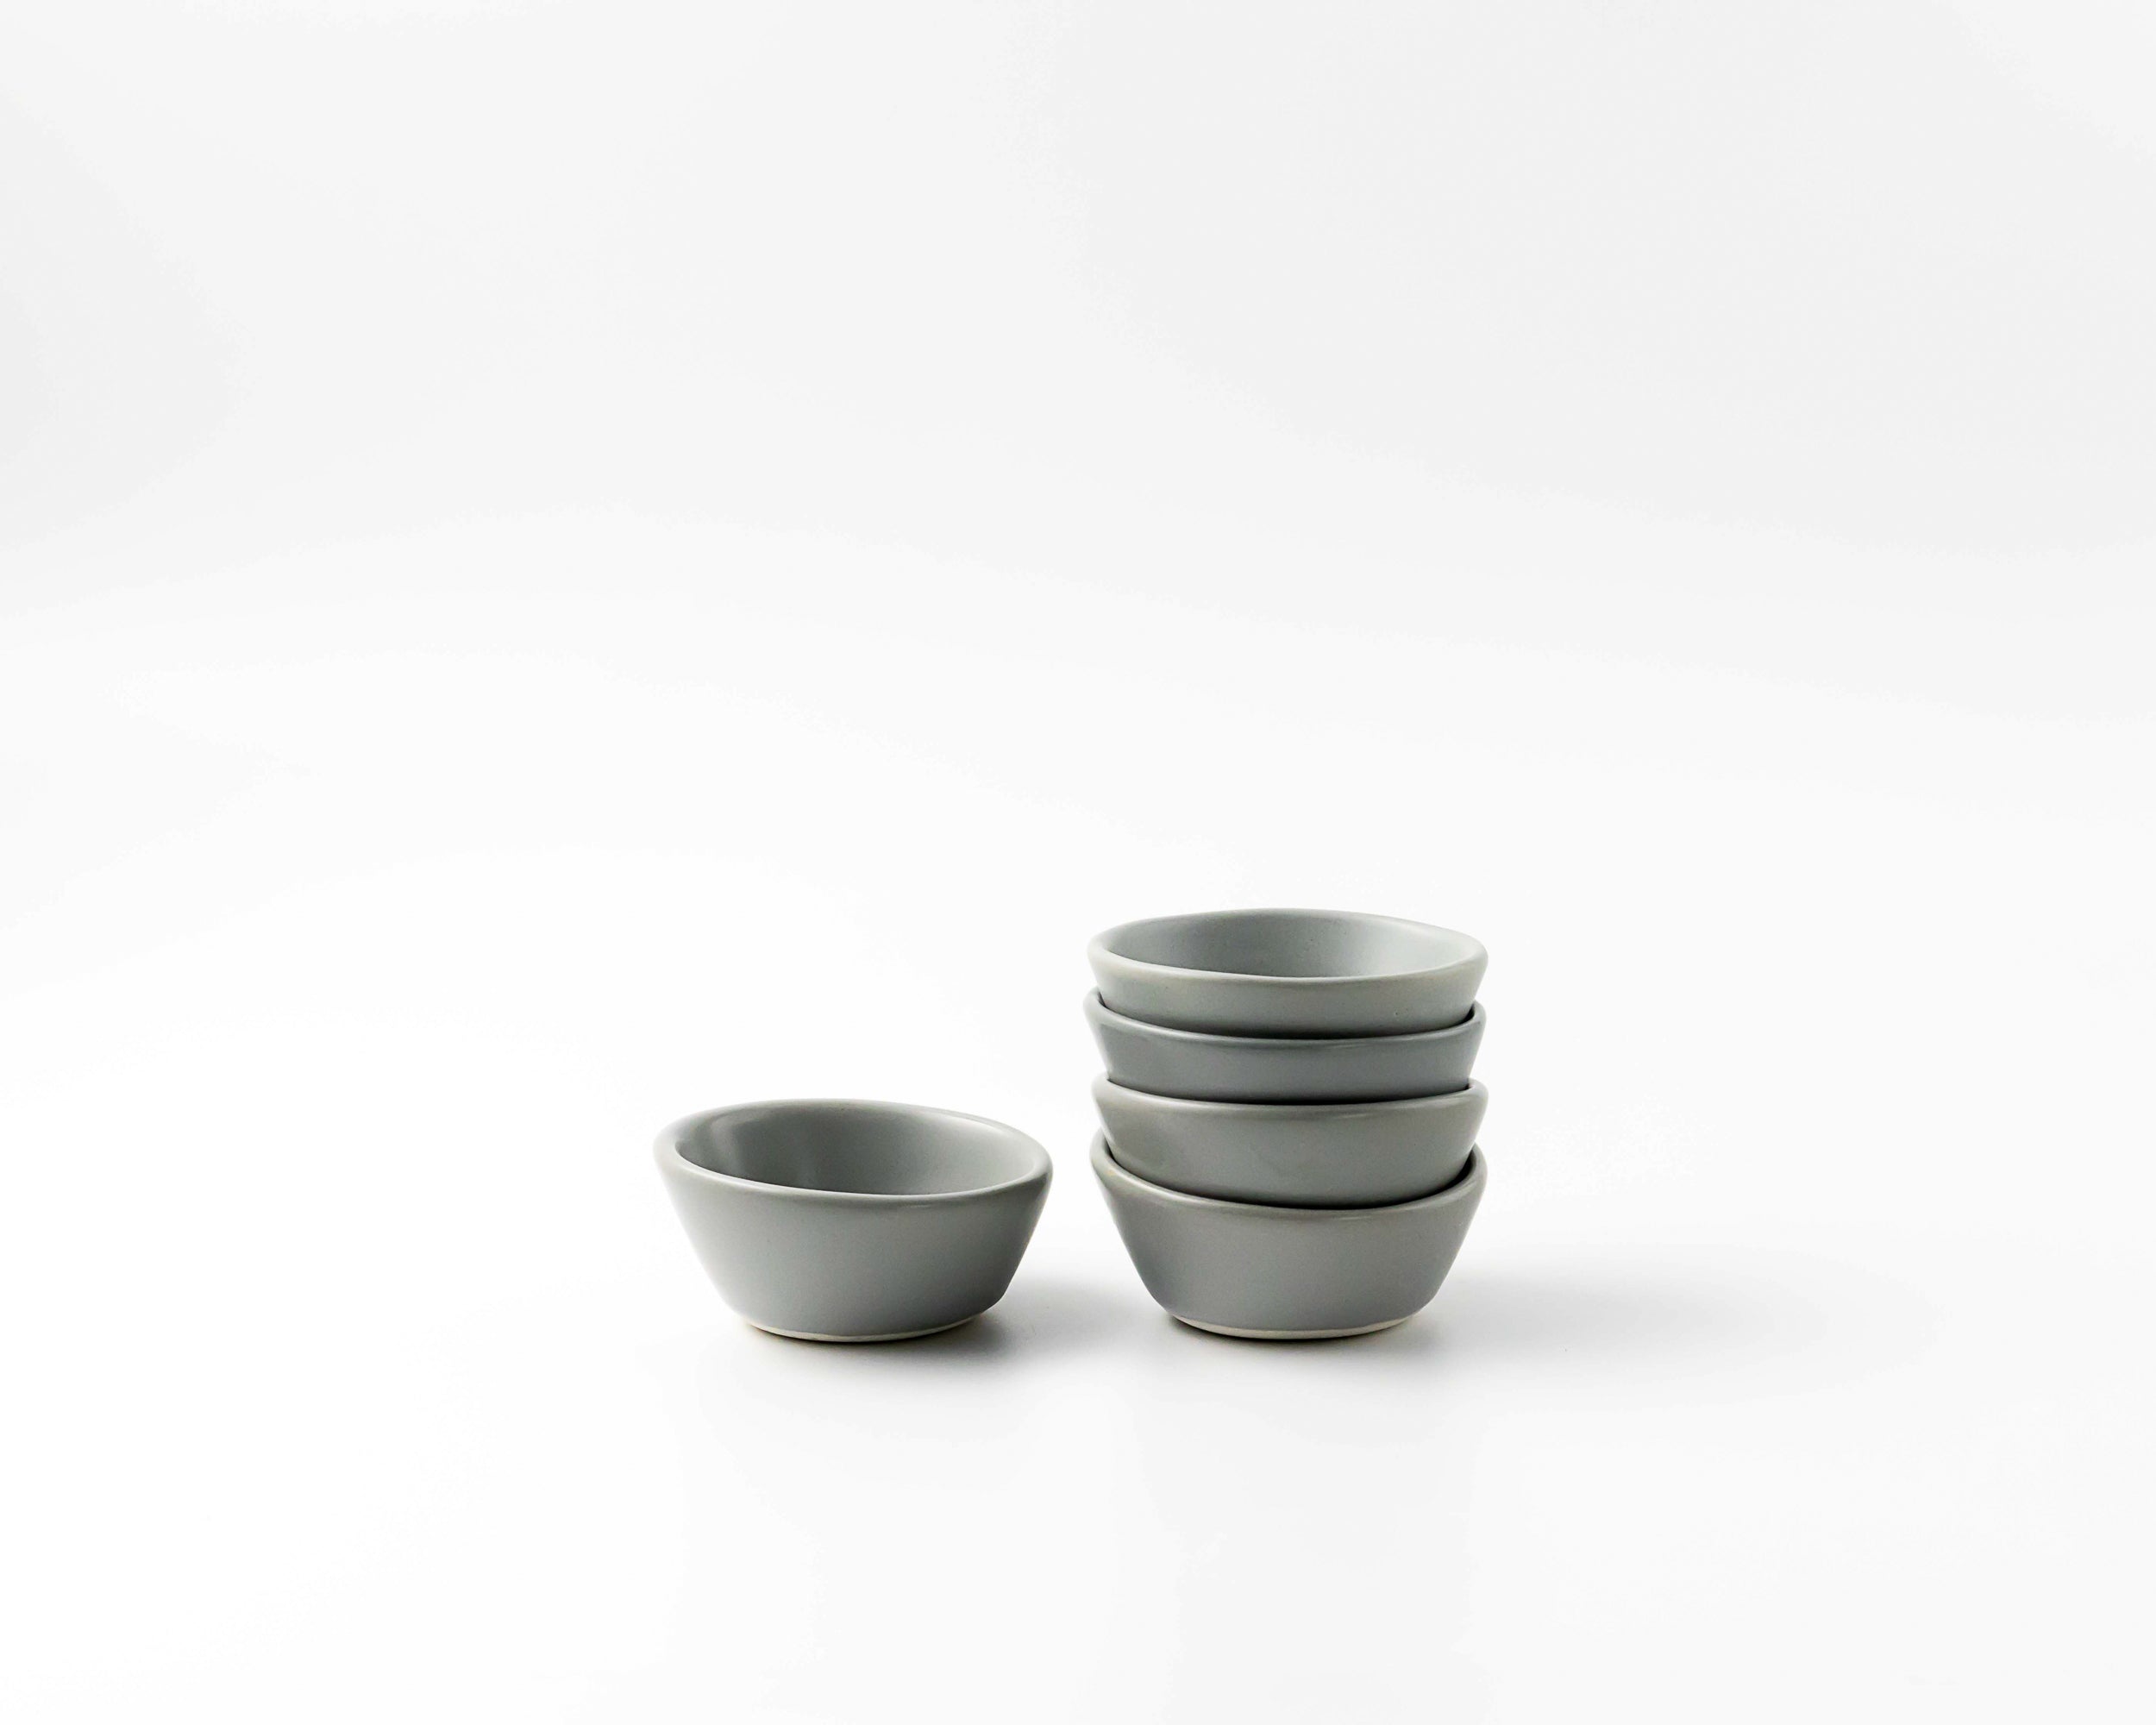
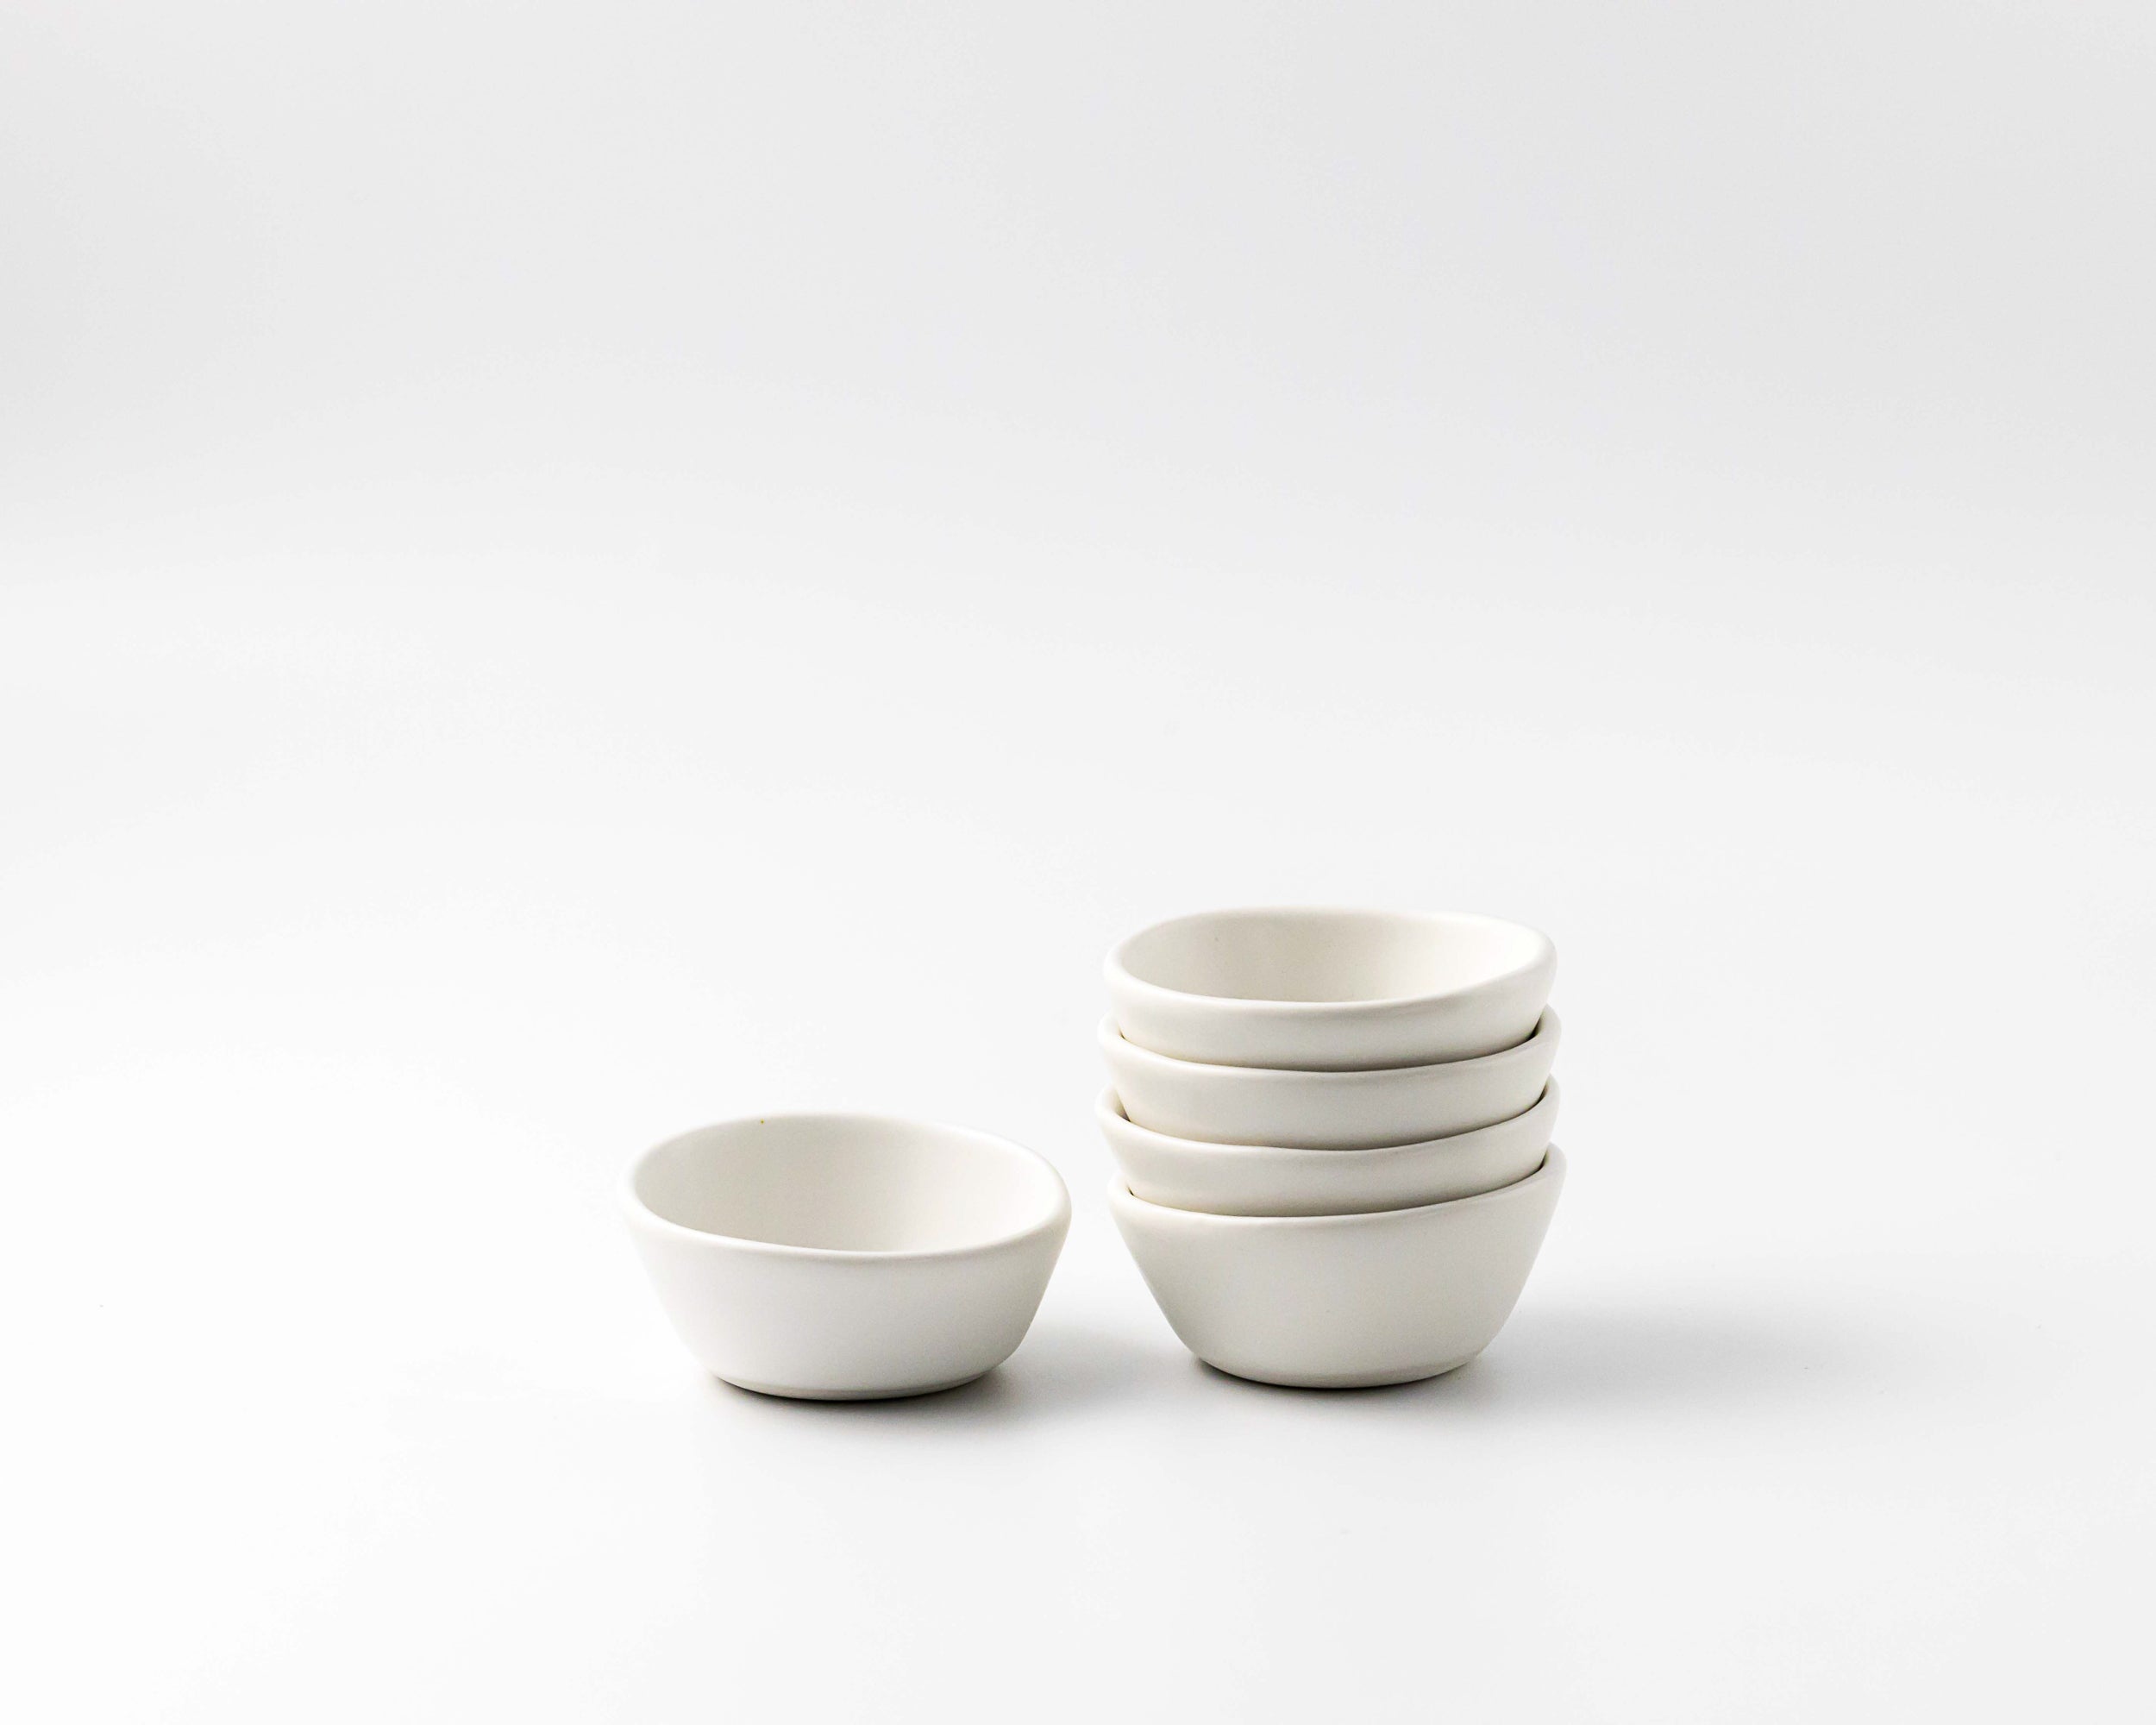
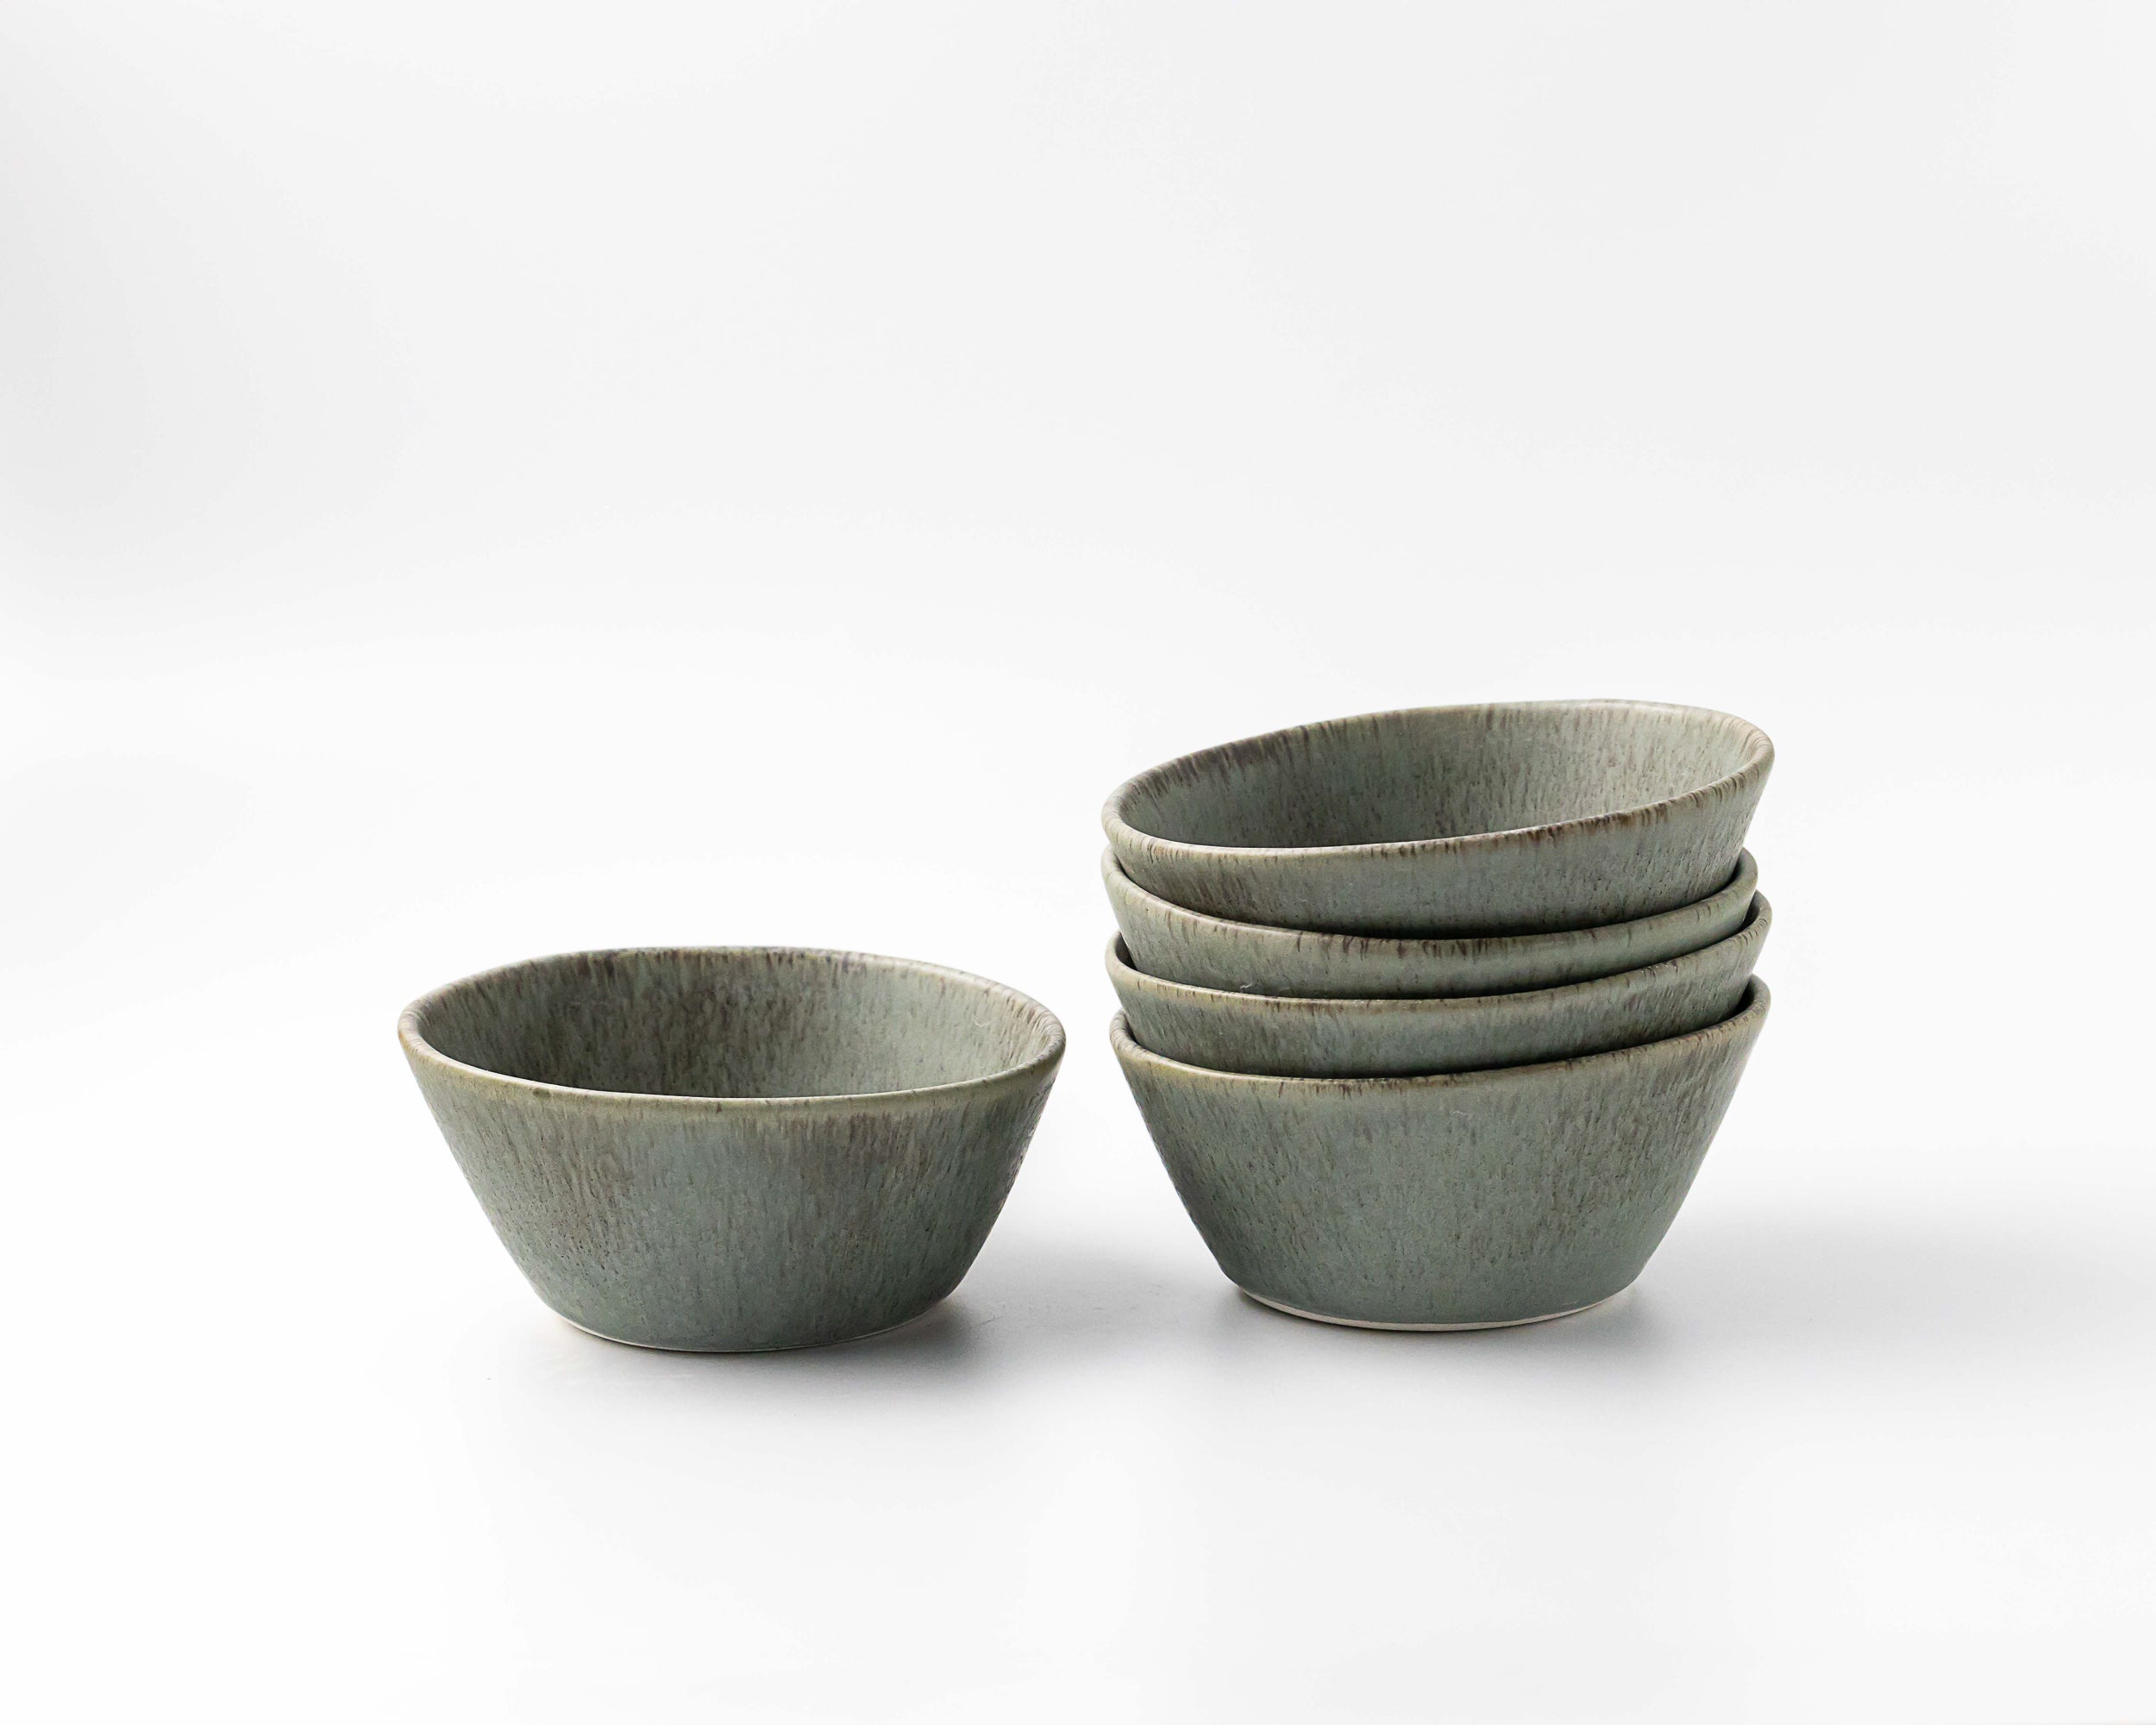
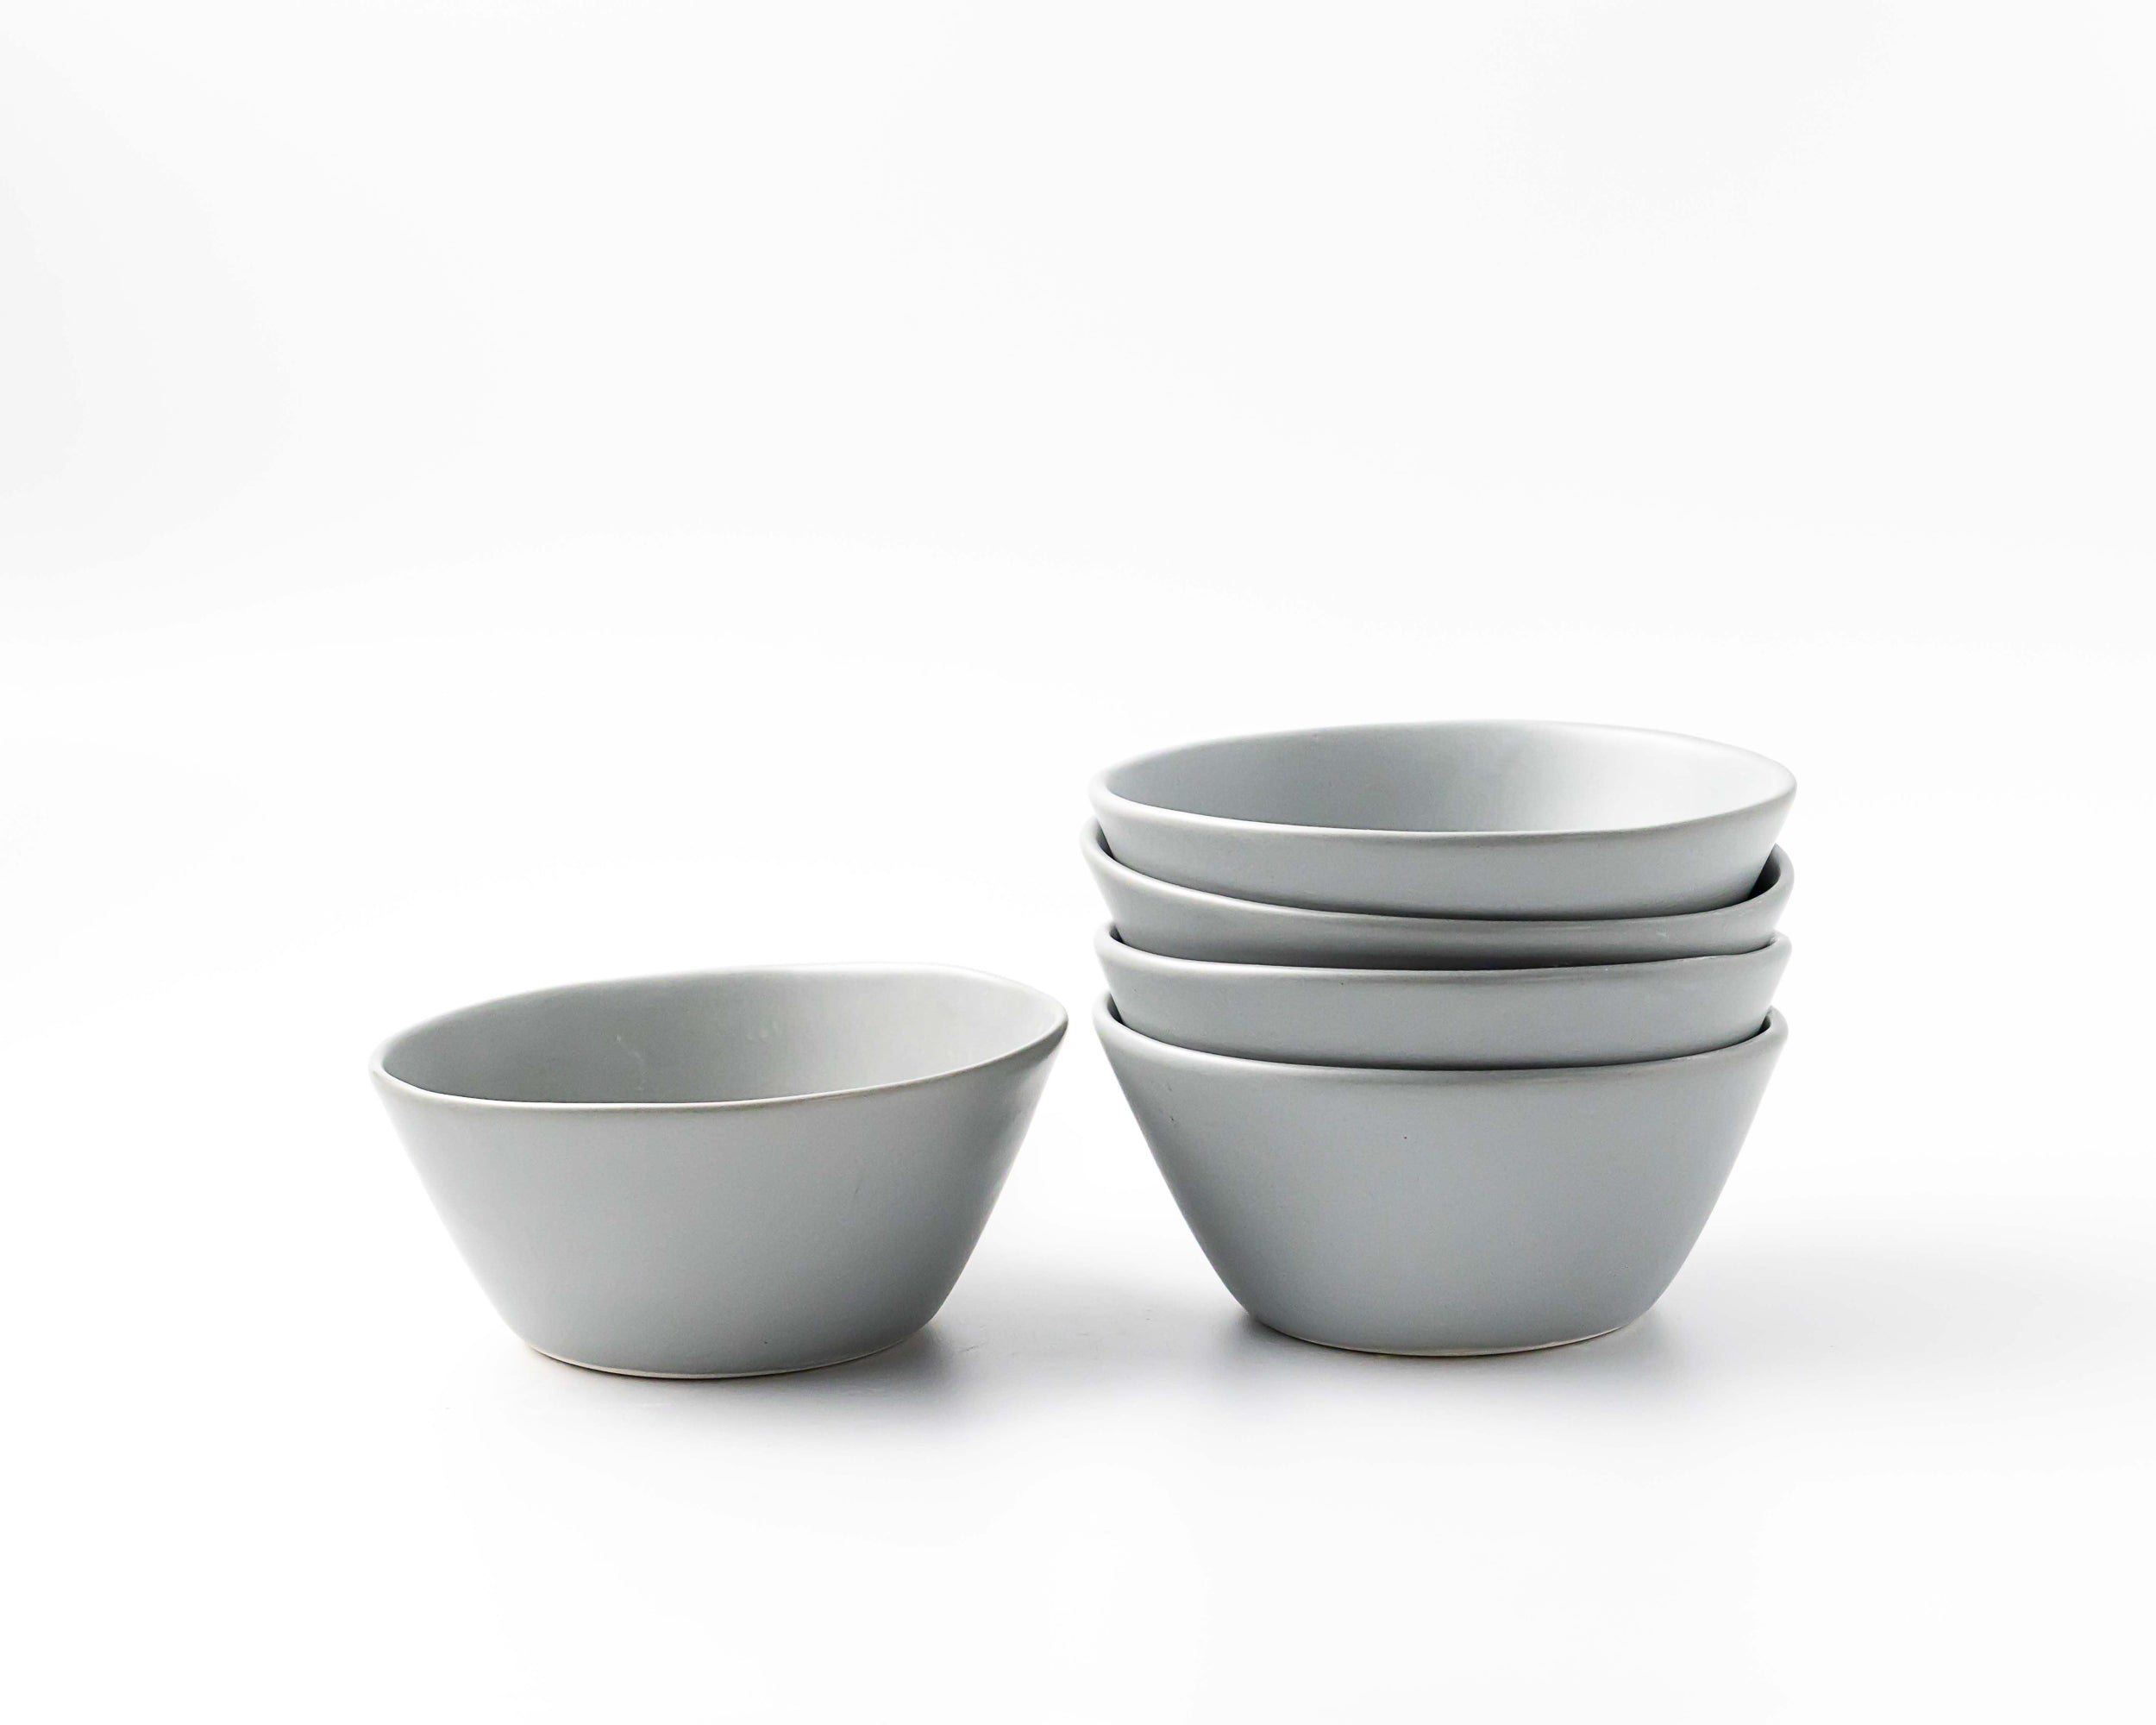
Makes 2 cups
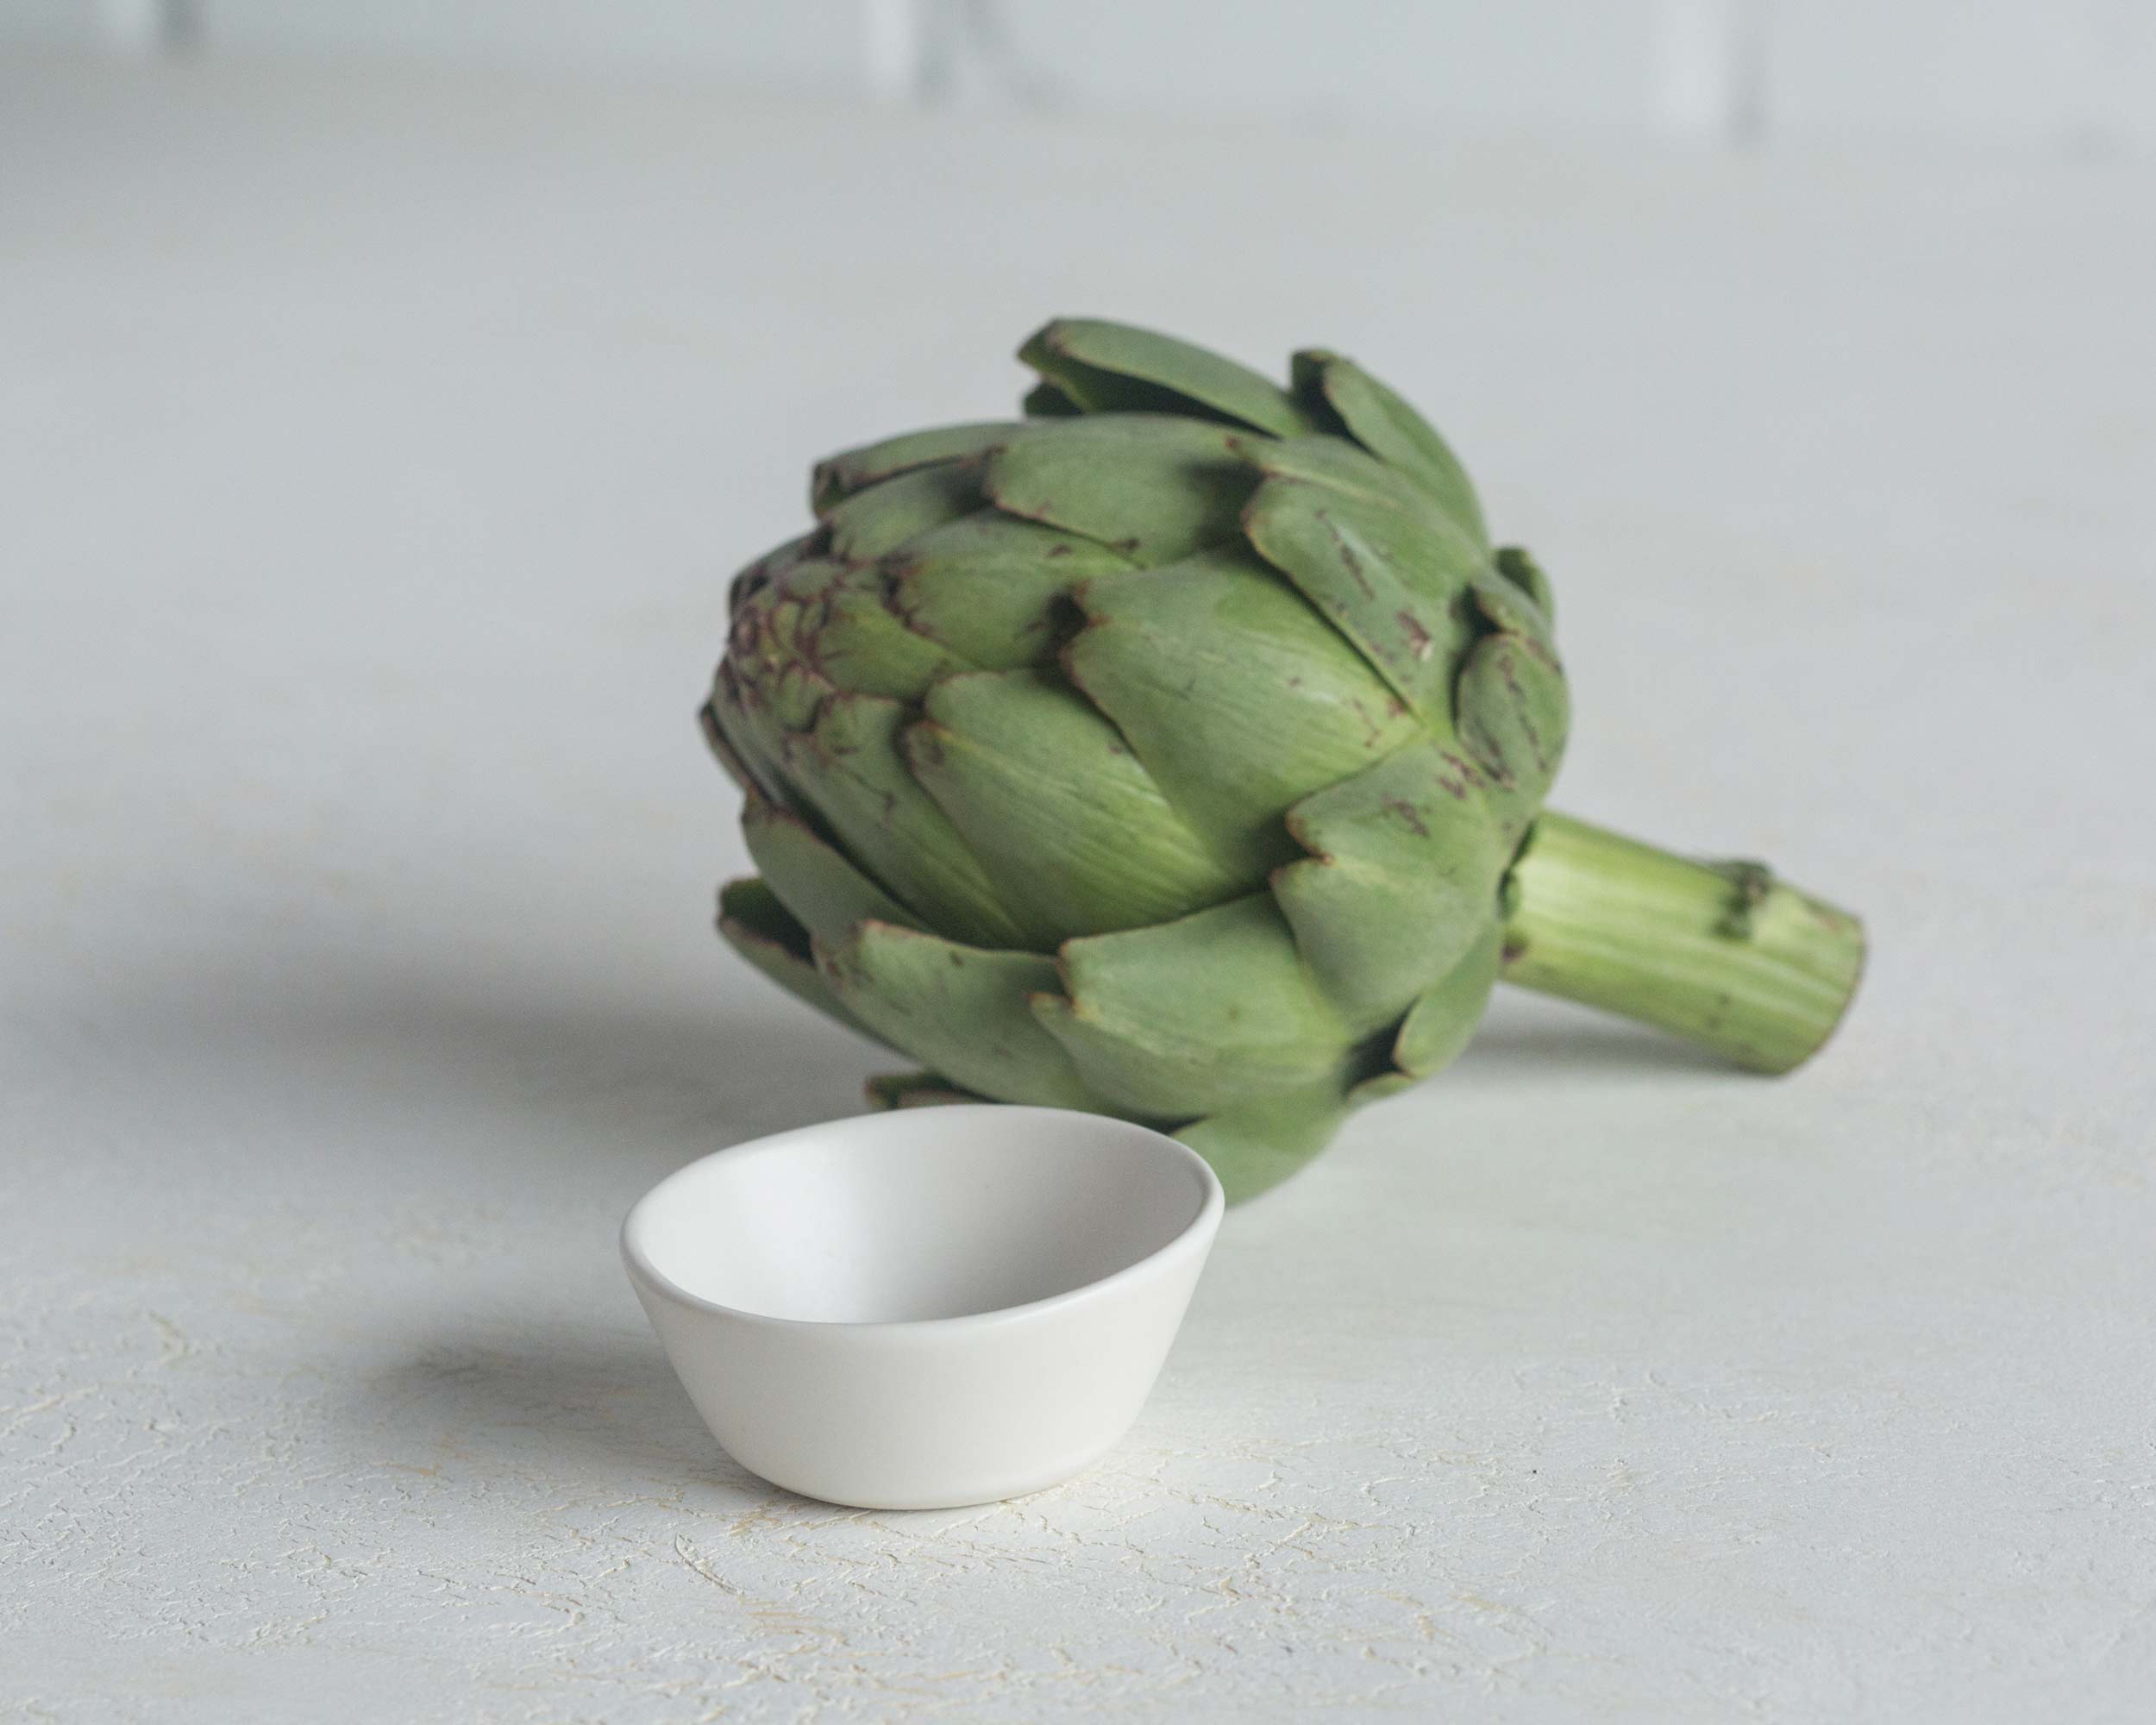
No Brainer ways to use at your next cocktail party:
- Stir into hummus or any dip, really
- Top toast you’ve smeared with creamy cheese
- Add a little to your crockpot meatballs, or just about anything in your crockpot
- Use as a base for pizza toppings
Here’s what’s important:
- Do not shrink the recipe. It won’t work if you start with a dinky mound of onions. You need girth to produce the steam that will initially soften them, and you need the insulation provided by their bulk to prevent them from burning before they can soften up. Trust me. One cup of onions will not do.
- The pan you use is crucial. A flimsy and light cheap aluminum thing will encourage burnage, and traditional nonstick surfaces don’t promote the stick-and-stir environment you need. And contrary to conventional wisdom, more surface area is not advantageous here, so don’t bring out your 24-inch stew pot in hopes it will make things happen faster. In short, choose something of an appropriate size with a heavy bottom and a tight-fitting lid. A 10- to 12-inch cast-iron skillet or Dutch oven is ideal, but a nice-quality stainless-steel pan with high sides works too.
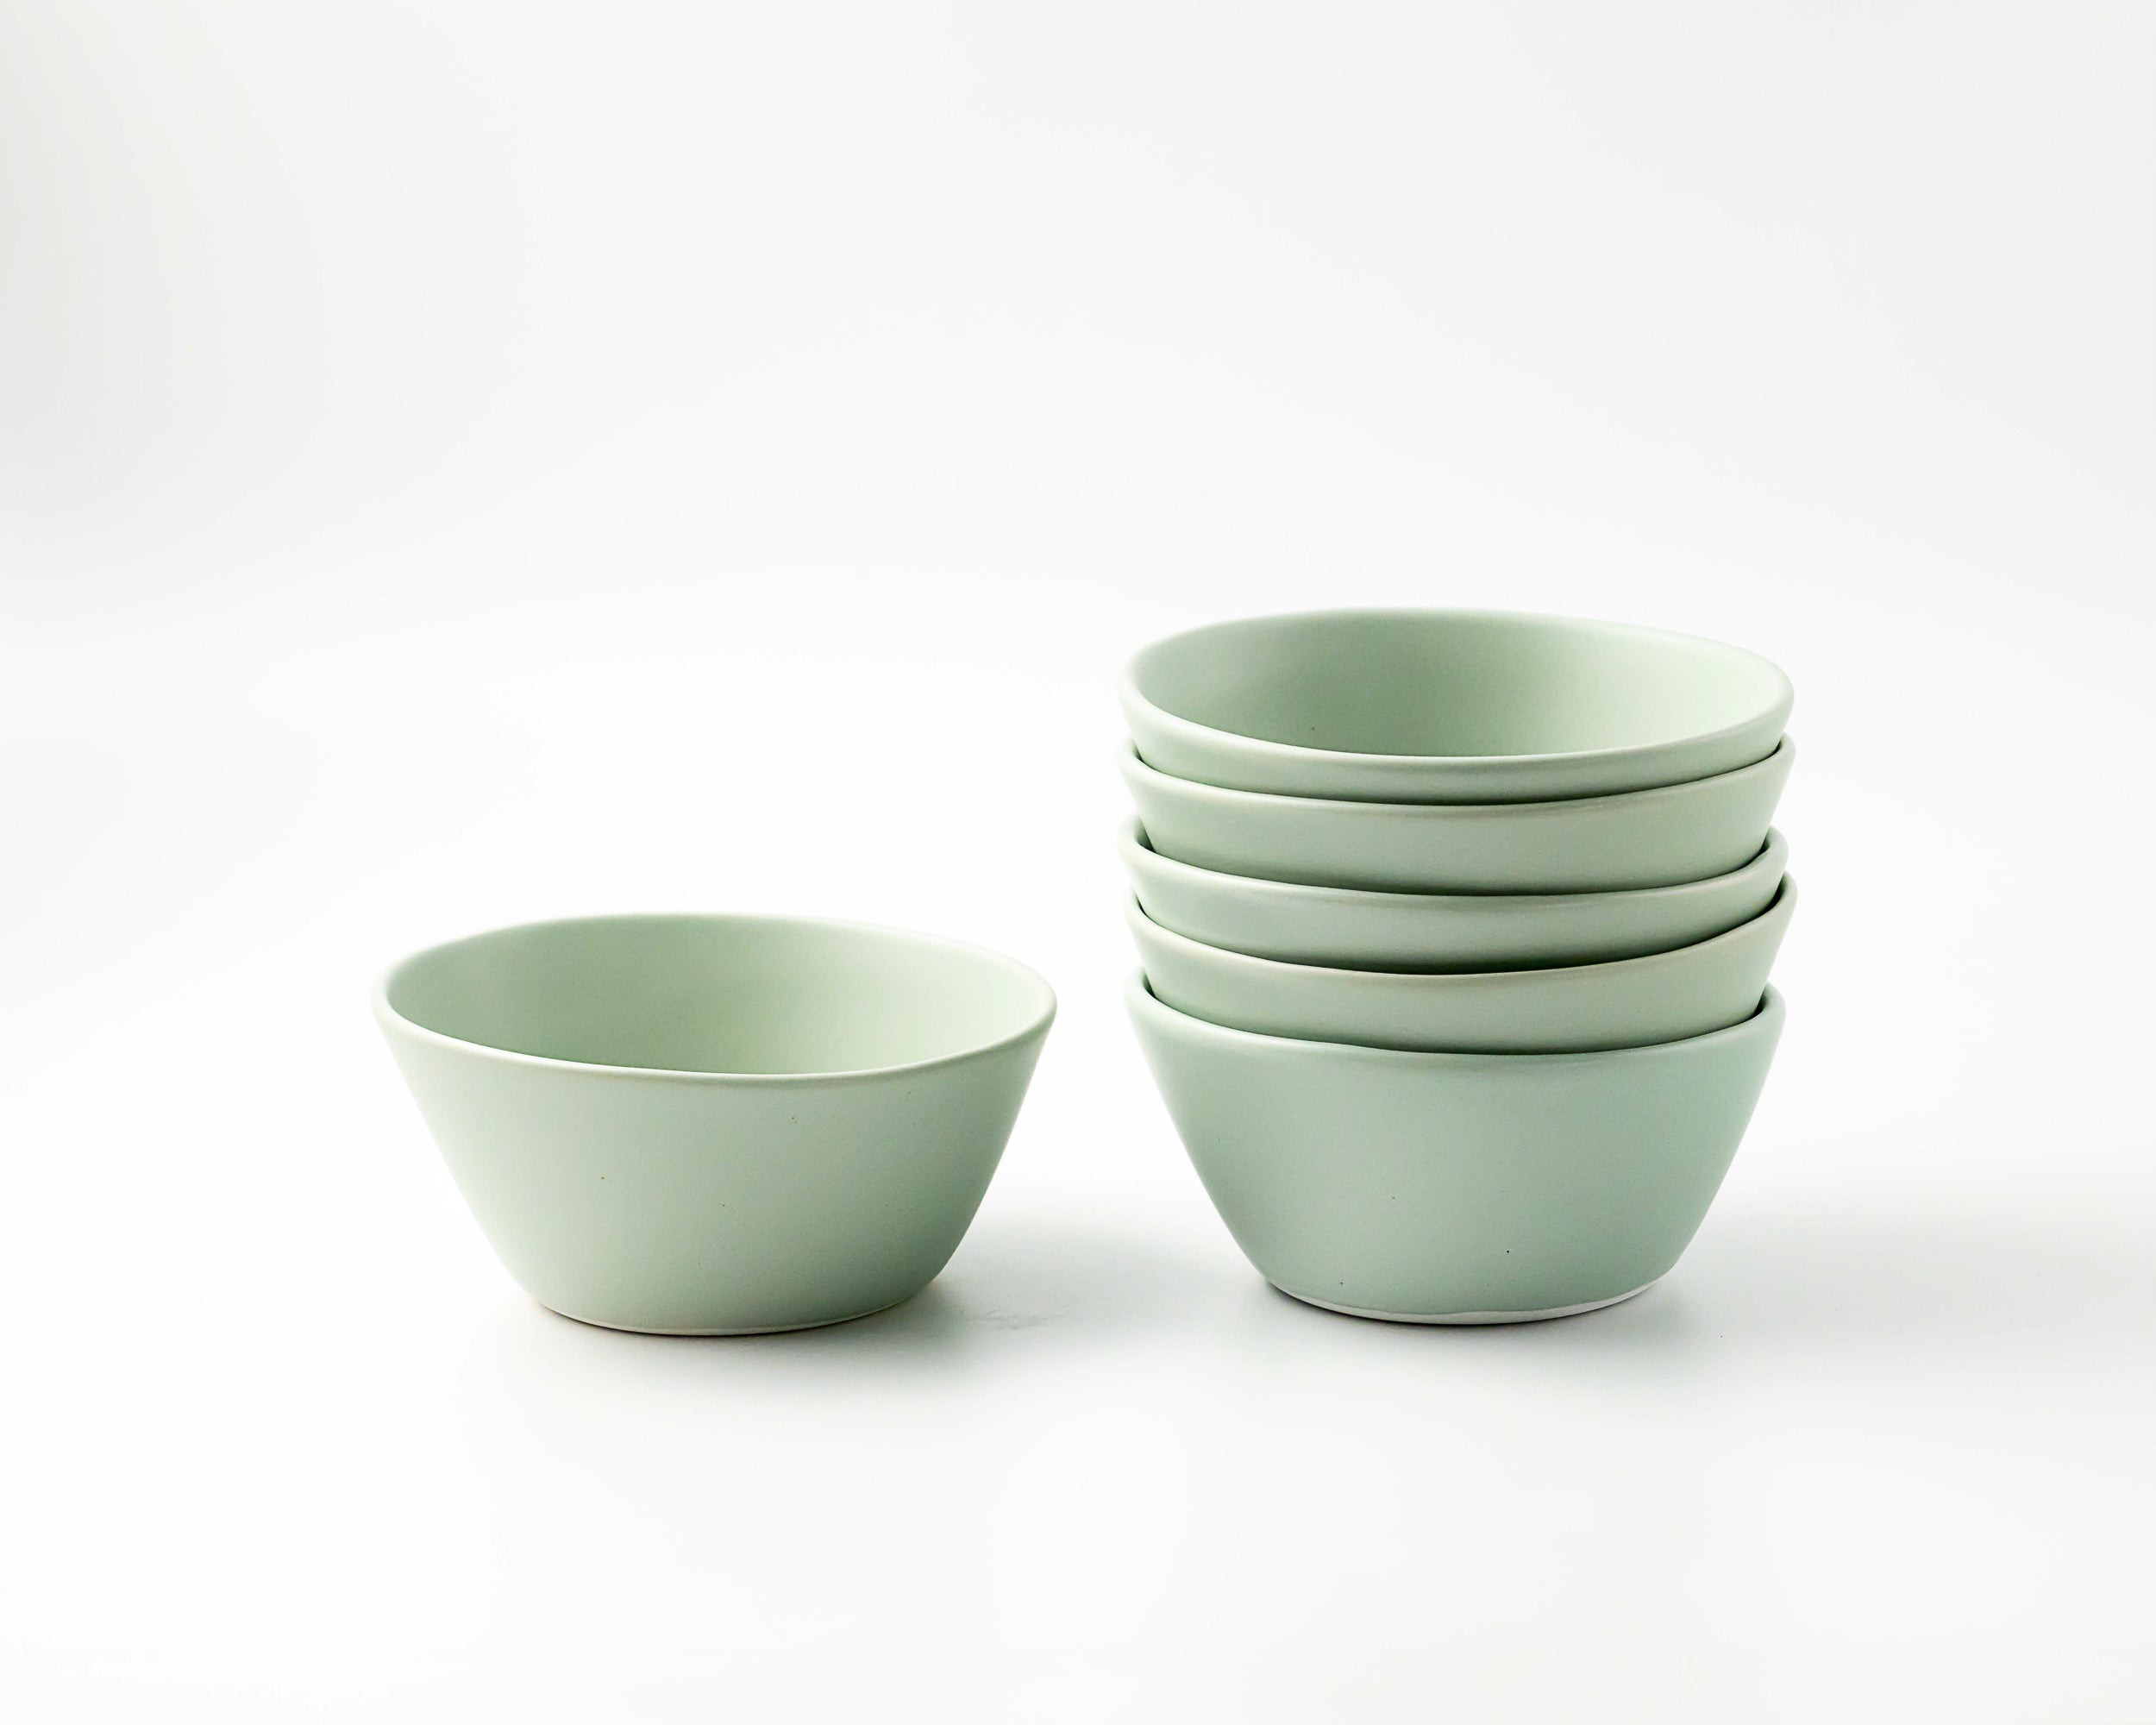
- I divide the fruits of my labor into half-cup portions and store any extra in the freezer. Silicone ice cube trays meant for giant cocktail cubes make great storage vessels as well. But you may want to keep those for emergency Manhattans. You do you.
- R-Rated Onions will keep in the fridge for a week and in the freezer for 3 months.
Ingredients:
4 to 5 large or 6 to 8 medium yellow or white onions
1 tablespoon olive or vegetable oil
1 teaspoon kosher salt
Directions:
- Peel your onions and cut them in half through their stem ends—longways, if you will. Slice them thinly with the grain, following the line from root to stem rather than cutting the onion across its belly. This is actually important because slicing it the other way makes the path to silky onions a longer one.
- Once your onions are sliced, heat your skillet over medium-high heat and add the oil, then the onions and the salt. Let the onions sizzle for a couple minutes. Stir with a wooden spoon or a heatproof spatula and watch as they wilt for about 3 more minutes. At this point, reduce the heat to medium low. Put a lid on and step away for a few minutes. Give the onions a stir every now and then. You don’t have to stand over it like risotto, but don’t go for a walk around the block either. Caramelized bits will accumulate at the bottom and sides of the pan, and that’s good. Just scrape them up and stir them in. A little color building as you go is okay, but don’t rush to brown them. The point is to cook the onions gently, coaxing them through stages of raw, wilted, sweaty, soft, light brown, and finally deeply caramelized.
- About 45 minutes in, remove the lid for the last time. They should be a light caramel color. Now, with the lid off, you will need to watch more closely and stir more frequently. At some point you may find that despite your best efforts some of the caramelized bits, verging on burnt, cling to the pan and threaten overall onion ruin. Do not fret! Just add a ½ cup or so of water and use its energy to help scrape up the stubborn but tasty film. Let the water cook out of course. When you’re smiling over a soft, creamy, fragrant pile of mahogany onions, you’re done.